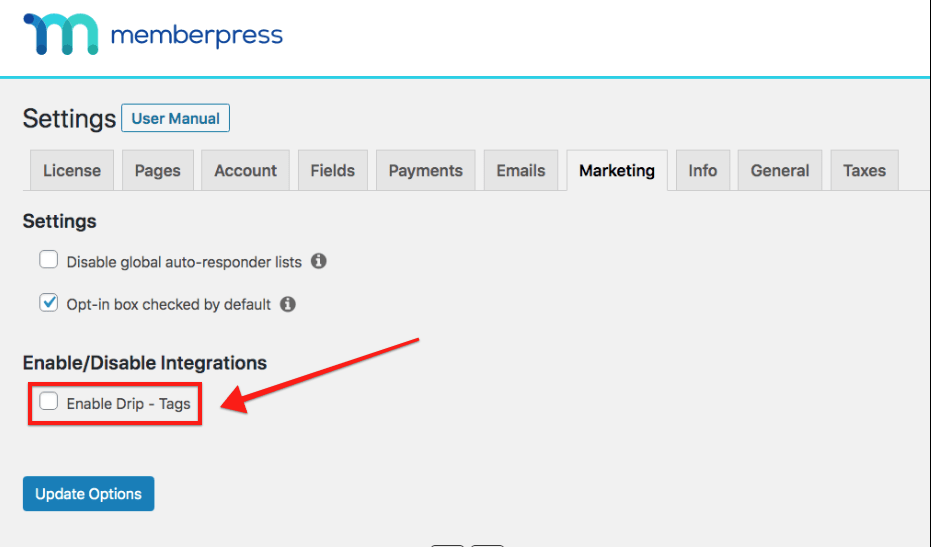
« Configuring the Marketing Tab
This add-on is included with your purchase of the Plus or Pro edition of MemberPress.
This article covers integrating with Drip, the email marketing platform. If you're looking for information on dripping your content, please see Dripping and Expiring Content.
Step 1 – Install the Drip (Email Marketing Platform) Add-on
In your dashboard, head to the MemberPress menu > Add-ons, and click to install the add-on. It will be automatically activated, and you'll see the Drip integration available in the “Marketing” tab of the MemberPress Settings page.
Step 2 – Input the Drip API Token
Find your API Token in the Drip Dashboard > Settings > My User Settings > API Token. Copy and paste the token into the MemberPress Drip options.

If everything checks out, you should see the green “Ready!” message

Step 3 – Choose Your Drip Account
Choose the Drip account you wish to associate with your website

Step 4 – Enter Your Global Tags
MemberPress will add these Tags to all new subscribers. However, the Tags will not be added if the member did not check your opt-in checkbox when signing up. If you'd like to set up special Tags for each Membership level (strongly recommended), follow Step 5 below.

Step 5 – Per Membership Tags (Optional, but STRONGLY recommended)
The power of this integration comes from your ability to add specific Tags for each Membership level. MemberPress will automatically add the tags in your “Active Tags” field to the subscriber when they are active on the Membership. It will automatically remove the “Active Tags”, and add the “Inactive Tags” when the member is inactive on the Membership.
So in essence, these two Tags fields will toggle on the subscriber's account based on their membership status.
This is a great way to segment your subscribers in your Drip account and set up marketing automations based on the tags.
To set per-membership tags, simply go into the MemberPress menu > Memberships > Edit, then go to the Membership Options > Advanced tab. You will see something like this:

A subscriber's activity may look something like this in your Drip dashboard:

Recap
MemberPress will add the Global Tags to all subscribers unless they did not opt-in during signup. Global Tags are never automatically changed once set. MemberPress will, however, automatically add/remove Membership-specific Tags based on the member's current subscription status on that Membership. You can then utilize this automatic tagging behavior to create automations in your Drip account for your subscribers.
I'm confused. Help!
Shoot us an email from our support page if you need any further assistance with this integration.


