Whether you are coming to MemberPress from another membership system, moving your site to a new domain, or are adding a membership portion to your existing site, you may have the need to migrate certain things over. In this article, you will learn the basics of how this migration process may look for you.
Please note that the following applies to everyone, regardless of the system you are coming from.
The MemberPress Importer
The MemberPress importer is a powerful tool that allows you to import important data into your system. The most common uses for the importer is to add users and their subscriptions into MemberPress from a previous membership solution.
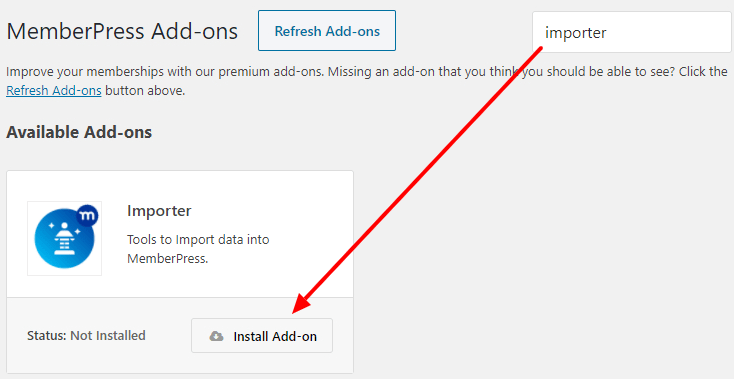
To add and activate the Importer, please go to your WordPress Dashboard > MemberPress > Add-ons tab and then search for Importer. Then, all you need to do is click the Install button and then activate it like this:
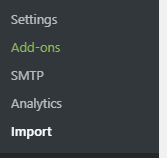
With the Importer installed and activated, you will now see this new “Import” item in the MemberPress menu:
Creating your CSV Files
With the MemberPress Importer installed, you will be ready to start creating your first CSV files to import your data.
CSV stands for “comma-separated values,” which is a very common format used by Spreadsheets. You can create a standard spreadsheet in Excel, Numbers, Open Office, or Google Spreadsheet and then export a CSV file from your spreadsheet.
All of the importers require their own unique data items to be present in the CSV file, but they will all follow a couple of conventions:
- Each CSV file must have a header row (first row of the file) containing the field's name. Everything in the column under the first row will be flagged as being a value for the field defined in the header.
- The columns of the CSV file don't need to be in any set order. The data fields are determined not by order but by the header name.
- The file must be in UTF-8 format. Hint: You can use a program like Notepad++ to convert the encoding.
This file format is the most important thing when it comes to using our importer. Do NOT think that you will be able to simply export a CSV file from somewhere and then import it directly. That will NOT work.
Basic Migration Steps
- Setup MemberPress and get it configured with your memberships and gateways at least. You probably shouldn't create any Rules yet to prevent conflicts with your existing membership plugin (if using on the same site).
- Import your Users (if not already on your WordPress site).
- Import any recurring subscriptions or one-time payments associated with them (these are separate files from your Users CSV file imported in step 2). Note: for Stripe, we use the Stripe Subscription ID for Subscription Imports (sub_xxxxxxxxxx)
- Test that everything looks good; if so, create Rules in MP.
- Deactivate your previous membership plugin.
- Conduct more testing to ensure everything is working properly.
- Switch your IPN or Webhook URL's over – etc. – to ensure that payments are recorded in MemberPress properly, moving forward. You can find links to your gateway(s) with detailed instructions for their setups with MemberPress here.


